
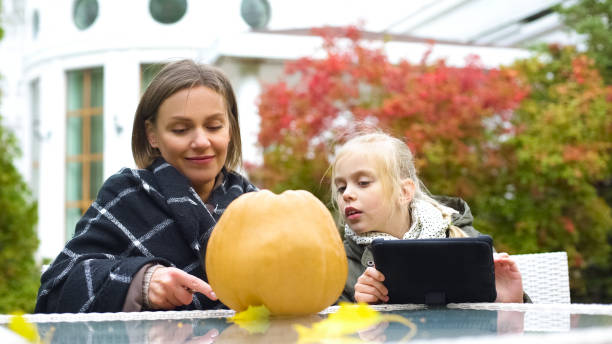
Top 10 Pumpkin Carving Tips
Top 10 Pumpkin Carving Tips https://kupplin.com/wp-content/uploads/2022/04/Top-10-Pumpkin-Carving-Tips.jpg 612 344 kupplinadmin https://secure.gravatar.com/avatar/6eec4427dd031e16c8da4c63019a7497?s=96&d=mm&r=gIt’s a long-standing Irish tradition to carve a pumpkin. There’s a story about an old miser named Jack who conned the devil out of his money. It’s creepy. When Jack died, God didn’t want him in heaven, and the devil was so enraged that he didn’t want him in hell. This is because Jack was such an unsavory character. Jack used a turnip as a lantern after the devil gave him coal to light his way through the world, so the term “Jack of the Lantern” was coined.
Tip #1: Take out the Pumpkin’s Bottom rather than its Top
I ESPECIALLY ENJOY SAVING THE TOP when I find the perfect pumpkin with the perfect stem. In addition, I prefer to light my pumpkin from the bottom so that I’m not risking a burn to my hand. When cutting out the top of your pumpkin, I recommend making it look like a “keyhole” to fit the lid back on easily.
Tips #2: Decide Which Side You Want To Carve
Using a scraper to “thin” the side of the pumpkin while you remove the seeds and string (aka guts) is a good idea. Using an ice cream scoop in the place of a pumpkin scraper will save you time and money. To make carving pumpkins easier and cleaner, “thinning” the inside of the pumpkin is a great idea. As you can see, these actual pumpkin carving tips and tricks will come in handy for you in the future.
Tip #3: Masking Tape Is A Great Way to Keep the Image in Place on the Pumpkin
Using the pattern you made earlier, punch holes in the pattern and trace the image onto your pumpkin. You can substitute the pumpkin masters’ poker with a nail from your toolbox. There must be a few of those around here somewhere. Every line in your pattern should have a hole poked in it. To save time, I always make a photocopy of the pattern I want to carve before beginning the actual carving process. As a result, I’ll have the original for next year’s presentation.
Tip #4: Make Your Holes And Patterns Out Of Flour.
Remove your pattern once you’ve completed all of the tracings. Using some flour from your pantry, rub it into the pumpkin’s surface to help you see the image. Patterns can be seen when flour fills in a hole. Having a good idea of where to slash help.
Tip #5: Using a Cutter
It’s now or never for the cutting. If you’re using a pumpkin carving, saw from Pumpkin Masters, or any other tool, complete this step. Work your way out from the midpoint of the pattern when cutting. Use a sewing machine-like “up and down” motion. Remove your cutting tool, switch directions, and restart cutting with an “up and down” motion when you need to change ways on your pattern. Carving with one’s wrist will almost certainly result in the blade breaking. Remember to move like a sewing machine when you’re exercising.
Tip# 6 When You’re Done Carving,
Press The Inside Of the Pumpkin to Release the Pieces. A good “up/down” motion will help your pieces come out neatly and easily.
Tip# 7: Make Use Of A Toothpick To Hold Down Splinters
The pattern is still usable even if a few of your pattern pieces break. It’s alright. With a toothpick, you can secure broken or fallen pieces. My carving tool kit includes a large number of implements.
Tip # 8 Preserving Your Pumpkin
I’ve tried a few methods, and they all extend the life of your pumpkin. You can use bleach and ice water to clean your pumpkin. Bleach in a gallon of water and a teaspoon. Additionally, bacteria that might otherwise break down the food are killed by doing this. Petroleum jelly can also coat the pumpkin’s interior and the cuttings. A layer of Vaseline is applied to the pumpkin to keep it fresher longer. My pumpkins are soaked in the sink or a 10-gallon bucket from Home Depot.
Tip # 9: Use Aluminium Foil under Your Pumpkins to Reflect Candlelight.
Each one has 3-4 tea lights in it. Using aluminum foil is a good idea. Creating a chimney on your pumpkin will help it burn brighter if it isn’t doing so already. Your candles will burn brighter thanks to the opening, allowing smoke and heat to escape the pumpkin!
Tip # 10: Take a Photo
Trick-or-treaters will compliment you on your carved pumpkin or Jack-O’-Lantern if you take a picture! Good luck with your pumpkin carving this year, and have a safe and enjoyable Halloween!
Leave a Reply